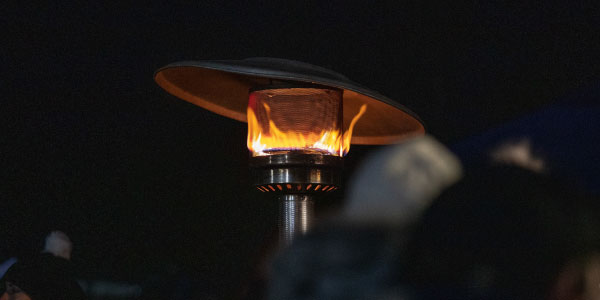
Best Patio Heaters 2025
A selection of the best types of heaters to warm your patio all year round
Having trouble finding the right outdoor heater for your needs? Take a look at our popular articles which aim to give you the answers you need quickly.


Before you jump in and start playing with fire, here’s a few maintenance tips you’ll need to know to keep your clay chiminea from cracking under the heat.

Congratulations! Your new clay Chiminea has arrived and it looks gorgeous. Maybe it has some beautiful Mexican designs on the side, maybe it even has a grill.
But before you start daydreaming of hot marshmallows and cosy nights by the fire, there are a few important steps you need to take to maintain and cure your terracota chiminea.
Before you do anything else, you need to know how to cure your Chiminea: this will prevent it from cracking and splitting on your very first fire.
Take a quick look at our dos and don’ts of common mistakes that could lead to shortening the lifespan of your outdoor fireplace.
Curing or Firing is the process of building up the heat resistance within the clay so that it’s better able to resist the changes of temperature: from high heats to cold weather.
This process has been used for hundreds of years. Yet 90% of the complaints of Clay Chimineas on Amazon are that they bought one and it cracked within a couple of uses.
Of course, it did. You didn’t cure it and just built the biggest fire you could on day 1. What did you think would happen? But you are a savvy Clay Chiminea owner and know better.
This may seem obvious but, much like baking bread, curing is a process that takes time, with short periods of activity followed by long periods of waiting.
So grab a book, a blanket, or just pick a nice day and get your tan on as you fire up your clay Chiminea.
You can also buy Chiminea rocks, but sand is just fine. Fill about three-quarters of the way to the top of the mouth – in other words, makes sure the fire doesn’t touch the clay, especially in the first few fires.
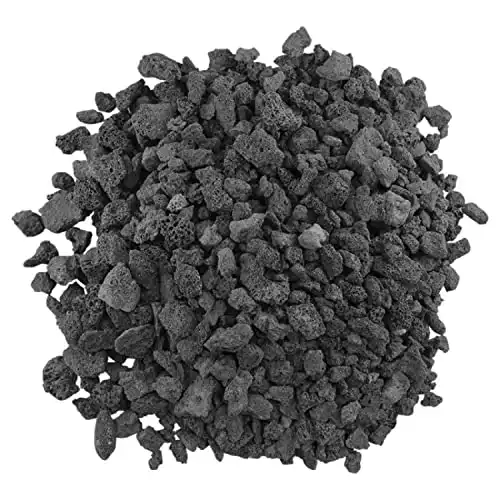
Durable 1/2”-1” lava rocks for fire pits, chiminea, bowls, and fireplaces. Ideal as a filler to cover gas pipes, withstand extreme heat, and enhance designs with fire glass. Great for landscaping too.
Using just kindling and paper start a very small fire on top of the sand. Make sure it’s in the middle, and try and ensure that the flames don’t come into too much contact with the edge of the chiminea. Leave it go out naturally.
Now you are onto the waiting game. The first time you do this the Chiminea will be almost totally cool as the fire is so small. The bigger the fire, the longer it will take for your chiminea too cool. Be careful and always empty the clay chiminea fire pit of ash and unburnt material before you start again.
Repeat stage 3 and 4, each time making the fire progressively bigger. Add an extra piece of kindling or wood and get burning.
Just remember to let the small fires burn down completely on their own, and the chiminea to cool naturally. Never use water to put out a fire in a Chiminea as that kind of temperature change can cause the clay to crack.
If the fire does get too big, simply use some sand to dampen the fire.
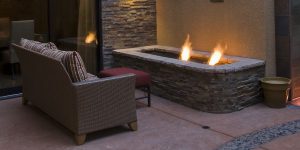
If you are looking at ways to prolong the use of your chiminea, do have a look at our top 5 items you need to buy to maintain your chiminea all year round.
Related: What is a Chiminea used for?
There’s a whole load of beautiful Clay Chiminea’s out there, with beautiful traditional Mexican designs. The best are generally unique and individual, giving them a hand-made look that makes for a beautiful focal feature in your garden.
The designs can vary, but in our opinion, the best Clay Chiminea should have:
Then it’s all about choosing the right design and size for your patio garden heater. Because once you’ve properly cured and looked after your chiminea, it will look after you for years to come, in the longest darkest and coldest nights.
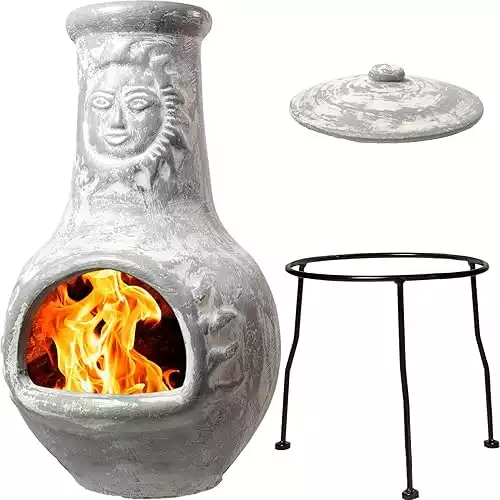
This medium 16"x16"x32" clay chiminea adds rustic charm and warmth to your backyard. Handmade for durability, it’s perfect for outdoor gatherings, providing both decoration and practical use.


Sign up for free and get the hottest outdoor heater news direct to your inbox, you never know what you goodies you might find